
A loose dental filling can catch you off guard, but knowing your options makes handling it much easier. This post covers temporary home fixes, over-the-counter solutions, and what to expect at a trusted dental office when you need a permanent repair. We’ll break down the common causes of loose fillings so you can prevent them down the road. You’ll also find aftercare tips to keep your fillings in good shape for years. Acting fast on a loose filling helps you avoid bigger problems later.
Common Causes of Loose Fillings
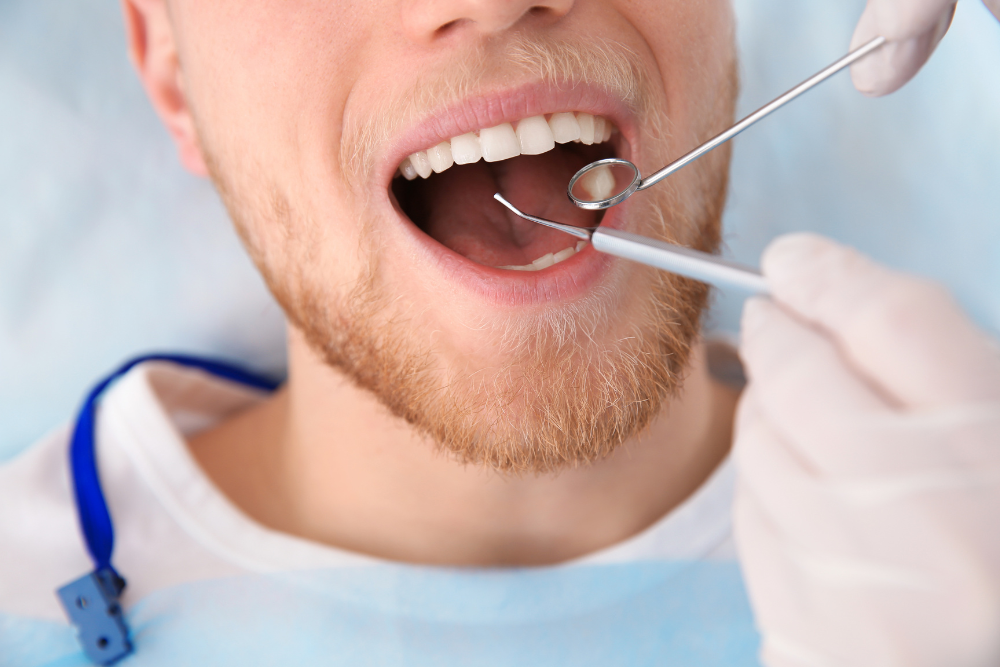
Understanding why fillings come loose can help you avoid the problem in the future. Poor oral hygiene, which leads to decay around the filling, is one of the main culprits. Grinding or clenching your teeth puts extra pressure on fillings and can loosen them over time. Eating hard or sticky foods can also knock a filling out of place. Fillings may wear down with age or shift if they weren’t placed correctly from the start. Regular dental checkups help catch loose fillings early before they cause more damage. Keeping up with brushing and flossing, and being mindful of habits that stress your teeth, goes a long way toward preventing this issue.
Temporary Fixes at Home
When a filling comes loose unexpectedly, a few temporary fixes can hold you over until you can see a dentist. Start by cleaning the area with warm water to clear out any food or debris. Over-the-counter dental cement can temporarily hold the loose filling in place. Just make sure the filling is dry before applying it. Avoid chewing on the side with the loose filling to prevent more damage. These home fixes offer short-term relief, but getting professional care quickly is the best way to avoid complications and get a lasting solution.
Dental Wax as a Temporary Solution
Dental wax is another option for temporarily securing a loose filling until you can get to the dentist. It’s a soft, moldable material that covers the exposed or loose filling and adds a layer of protection. To use it, clean and dry the area, then take a small piece of wax and shape it over the affected spot. Press it gently into place and smooth it out to create a secure seal. While dental wax can reduce discomfort and protect the filling for a bit, it’s still a temporary fix. Professional care is needed to permanently resolve the underlying problem.
OTC Dental Cement Application
Over-the-counter dental cement offers a quick way to temporarily secure a loose filling and prevent further discomfort. To apply it, clean the affected area thoroughly and dry it completely. Mix the cement according to the package instructions. Using a clean dental tool, place the cement over the loose filling and shape it to fit comfortably in your mouth. Let it sit for the recommended time before eating or brushing. OTC dental cement provides temporary relief, but it’s not a long-term fix. Schedule an appointment with your dentist as soon as possible.
Professional Dental Solutions
When you visit the dentist for a loose filling, they’ll likely recommend dental bonding or a dental crown, depending on the extent of the damage. Dental bonding uses a tooth-colored resin that’s applied to the tooth surface and hardened with a special light. This method works well for minor repairs and restores the tooth’s shape and function with a natural look. A dental crown, on the other hand, is a custom-made cap that covers the entire tooth for added strength and protection. Your dentist will assess the extent of the damage and recommend the best option for your situation to provide a solid, long-lasting fix.
Prevention and Aftercare Tips
Good oral hygiene habits are your best defense against future filling problems. Brush your teeth at least twice a day, floss daily, and use an antiseptic mouthwash. Regular dental visits for checkups and cleanings help keep your fillings healthy. Here are some extra tips to protect your dental work:
- Avoid hard or sticky foods that can damage fillings
- Use a nightguard if you grind your teeth
- Stay hydrated to prevent dry mouth
- Quit smoking to support better oral health
Related Topics:
Root canal treatments are supposed to clear out infection and save your tooth. But sometimes, an abscess sticks around even after the procedure is done. This can be frustrating and painful for patients who thought the problem was fixed. At Encino’s best dental clinic, we see these cases and understand what’s behind them. This post breaks down the most common reasons an abscess might persist and what can actually be done about it.
Incomplete Removal of Infected Tissue
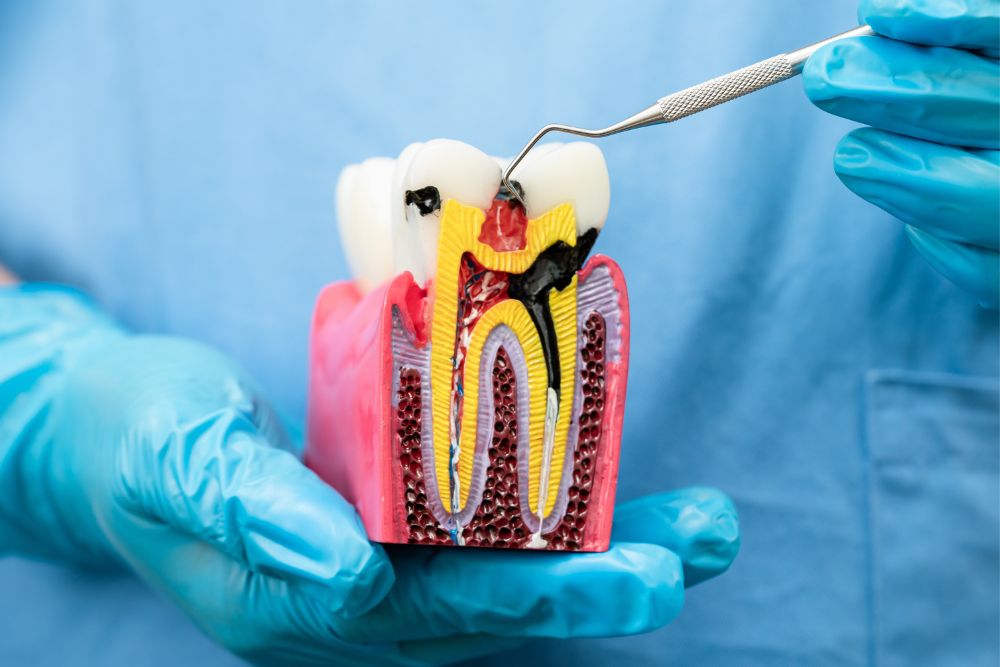
Root canal systems can be tricky to clean. Sometimes there are tiny side canals, fins, or narrow passages that hide bacteria. Standard hand tools don’t always reach these spots, leaving infected tissue behind. When that happens, the infection can flare back up and form an abscess. Using ultrasonic or rotary instruments along with microscopes helps dentists clean more thoroughly. Better cleaning reduces the risk of the abscess coming back.
Undetected Additional Canals
Finding every canal inside a tooth is harder than it sounds. Some teeth have extra canals that don’t appear on standard X-rays. If these get missed, bacteria hang out inside them and keep the infection going. Cone-beam CT scans and magnification tools make it easier to spot these hidden canals. An experienced endodontist knows where to look and how to thoroughly clean everything. Treating all the canals, not just the obvious ones, cuts down the risk of a lingering abscess.
Resistant Bacteria
Some bacteria are tougher than others. Strains such as Enterococcus faecalis and Porphyromonas gingivalis can form protective biofilms within the root canal. These biofilms make the bacteria harder to kill with standard cleaning solutions. Dentists may need to use advanced methods, such as laser-activated irrigation or specialized medications, to treat stubborn strains. Proper shaping and sealing of the canal also help eliminate these resistant bugs and prevent the abscess from lingering.
Poor Root Canal Treatment Quality
Not all root canals are done equally well. If the canals aren’t cleaned and shaped properly, or if infected tissue gets left behind, problems follow. Gaps in the filling material give bacteria a place to grow. Rushed procedures or less experienced practitioners can lead to these issues. Regular check-ups, magnification tools, and sticking to best practices all help improve treatment quality and reduce abscess risk.
Post-Treatment Complications
Even after a successful root canal, complications can still occur. Patients might experience ongoing pain, swelling, or a new abscess. This sometimes occurs due to missed canals, complex tooth anatomy, or incomplete disinfection. Thorough exams and imaging help catch these problems early. Proper sealing and restoring the tooth goes a long way in preventing issues down the line. When complications do happen, having your endodontist and general dentist communicating makes a big difference in getting things sorted out.
Delayed Crown Placement
Getting a crown placed quickly after your root canal matters more than most people realize. Waiting too long can cause problems:
- Risk of Bacterial Entry: Without a crown, bacteria can sneak back into the tooth through the access hole, restarting the infection.
- Weakened Tooth Structure: An unprotected tooth is more likely to crack or break, potentially leading to its loss.
- Appearance Issues: For front teeth, skipping or delaying the crown can affect how your smile looks and impact your confidence.
Getting your crown placed on time protects your investment in the root canal and keeps the tooth healthy for years to come.
Related Topics:
To safely and effectively fix a loose dental bridge at home, start by evaluating the bridge to determine the extent of the issue. Maintain proper oral hygiene: brush thoroughly, floss, and rinse with mouthwash. Applying a small amount of dental adhesive can help temporarily stabilize the bridge.
Make sure the area is clean and dry before placing the bridge, and allow the adhesive to set for 5-10 minutes. Monitor the bridge for stability, checking for movement and gum irritation. Following these steps carefully can help maintain the bridge while waiting to consult a professional for quality dental care.
Assessing the Loose Dental Bridge
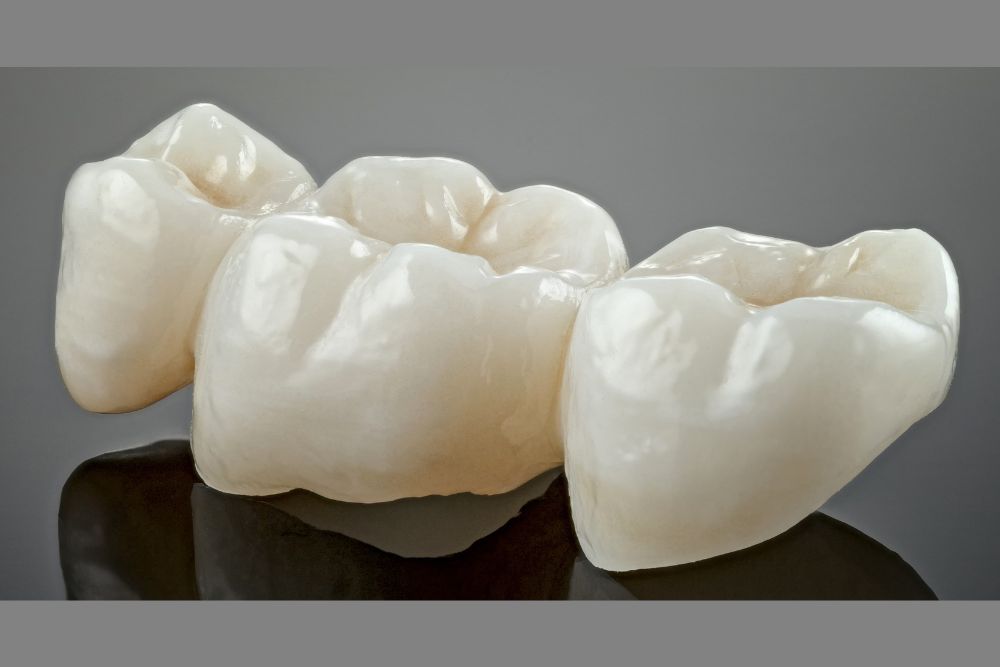
When a dental bridge feels loose, begin by carefully examining the area to determine the extent of the issue. Gently probe around the bridge with clean fingers to detect movement or discomfort. Check whether the bridge remains securely attached to the surrounding teeth and inspect for any signs of damage or wear.
Examine the gums for signs of redness or inflammation, as these can provide clues about oral health. This assessment helps identify the cause of the looseness and guides the steps needed to stabilize the bridge safely.
Cleaning the Area Thoroughly
Proper cleaning is important for maintaining a loose dental bridge’s health. Use a soft-bristled toothbrush to brush around the bridge, reaching all edges where debris and bacteria can accumulate. Floss underneath the bridge with a floss threader or specialized floss to remove trapped particles.
Rinsing with an antimicrobial mouthwash helps reduce bacteria. Keeping the oral environment clean supports the bridge’s function and contributes to long-term dental health. Regular dental visits are recommended to monitor the bridge and surrounding teeth.
Applying Dental Adhesive
Applying dental adhesive can temporarily secure a loose dental bridge until professional care is available. Before applying, confirm the bridge and surrounding teeth are clean and dry. Apply a small amount of adhesive to the inner surface of the bridge, then carefully place it back into position.
Hold it gently in place for a few moments to allow the adhesive to set. Following the product instructions ensures proper application and effectiveness. This step can help restore stability and reduce discomfort while waiting for a permanent solution.
Securing the Bridge in Place
To keep the bridge stable, gently bite down on a piece of clean gauze or a cotton swab after applying the adhesive. This pressure helps the bridge bond securely with the supporting teeth. Avoid chewing sticky or hard foods that could dislodge the bridge.
Regularly inspect the bridge for looseness or damage. Consistent oral hygiene and mindful eating habits support the bridge’s longevity and help it function properly during daily activities.
Allowing Time for Adhesive to Set
After applying the adhesive, allow 5-10 minutes for it to bond fully. Avoid eating or drinking during this period to prevent disturbing the setting process.
Apply gentle pressure if needed to ensure proper alignment, but do not force the bridge into place. Giving the adhesive enough time to set properly helps create a stable and durable temporary hold for the bridge.
Monitoring the Bridge for Stability
Once the bridge is in place, watch it closely to make sure it stays secure. Test for movement by gently biting and moving your jaw from side to side. Check for gum irritation, such as redness, swelling, or soreness, which may indicate improper fit.
Start with soft foods and gradually test harder textures to confirm the bridge’s stability while chewing. Regular monitoring helps identify potential problems early and reduces the risk of further complications.
Conclusion: Get Professional Help for a Loose Dental Bridge at Sargon Dental
A loose dental bridge can be uncomfortable and may indicate a problem with the dental cement, supporting teeth, or surrounding gums. While gentle cleaning, avoiding hard or sticky foods, and protecting the affected area can help while you wait for an appointment, a dental professional should evaluate a loose dental bridge as soon as possible. Avoid household glues or forcing the bridge back into place, as these actions can cause additional damage.
At Sargon Dental, our team provides restorative and comprehensive dental care to help patients maintain healthy, functional smiles. We can evaluate your loose dental bridge, identify the underlying cause, and recommend an appropriate treatment, whether that involves recementing, repairing, or replacing the restoration.
If your dental bridge feels loose, is causing discomfort, or has come out completely, contact Sargon Dental to schedule an appointment and discuss your treatment options.
Good oral hygiene and regular dental checkups can also help protect your natural teeth and existing restorations. For additional preventive dental information, read our guide: What Are Dental Sealants Made Of, and Are They Safe?.
Schedule a consultation with Sargon Dental today for professional guidance and help protecting your smile.
Related Topics:
- How Long After Dental Bridge Can I Eat: Dos and Don’ts for Healing
- How to Clean Dental Bridge for a Healthier Smile